When selecting dumpster rental services, you need to evaluate the type and amount of waste before scheduling. Organizing all recyclables, heavy objects, and general waste will help determine the dumpster size and simplify scheduling. Here are a few tips on how to assess your dumpster rental needs before booking:
Determine Your Needs Size
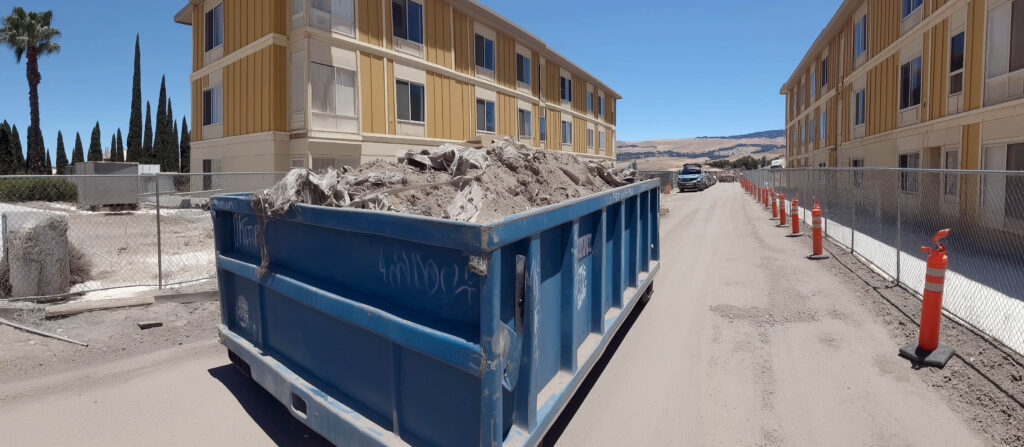
The renovation and construction of large projects may generate more waste than do-it-yourself jobs or office cleanouts. Review the overall scope of your project. Identify all areas where debris may be produced, and determine the type and amount of debris expected. The scope of the job determines the type of dumpster you will need. Projects requiring a commercial roll-off dumpster may need more space than a 10-yard compact debris box used for a lawn project.
Assess Timeline and Space Available
The duration of your project determines how long you’ll need a dumpster rental. Projects lasting more than a few days may require a long-term rental. A week’s rental may suffice for a home cleanout. A home renovation project may take longer. Knowing your timeline can help you plan when the dumpster will be delivered and when it will be removed or emptied. The dumpster company can schedule these times when you discuss what project you are undertaking.
Check how much space is available on your driveway. Also, check the construction site, or in another nearby open area to determine space. Make sure there is enough room to place large kitchen appliances, including space for countertops and a dishwasher. This gives them a clear space and helps with organization. Siteways for 30-yard or 40-yard debris boxes require more workspace than smaller 10-yard debris boxes. Account for the property borders and utility lines obstructing access to the dumpster placement.
Evaluate Waste Type and Limitations
Solid waste from projects, household debris, yard waste, and construction materials require specific types of dumpsters. You’ll need to comply with waste-type laws or restrictions. Identifying items in your haul may help avoid overfilling your dumpster with materials, such as plastics or furniture, that are better suited for recycling or donation. Trash bins may contain items such as wood and drywall from construction or demolition, in addition to household waste.
Rental companies may list guidelines for items that cannot be disposed of. Tires, hazardous chemicals, and batteries may need to be taken to trash collection facilities or disposed of in a specific way. Reviewing these restrictions helps you avoid placing these materials in your landfill. Review your waste before it is collected during seasonal trash pickup and national cleanup days, so you are aware of where it will go.
Discover Dumpster Rental Today
Selecting the right dumpster from several box sizes can help keep your project rolling through each phase. For large projects, roll-off dumpsters give extra capacity. Debris boxes handle small-to-medium-size jobs. Renting the right size, equipped with the necessary features, such as trash carts or portable toilets, can help you keep your workspace or event area clean and functional. Plan your dumpster rental today to make your upcoming project easier.
partnered post
